
As a mom of 3 myself, I know how important it is to capture beautiful photos of the day to day. Whether it’s their first steps, a family vacation, or just everyday moments…having beautiful photos to tell your family’s story is invaluable. Maybe you’ve recently bought your first DSLR or received one as a gift. To take full advantage of its potential, I highly encourage you to learn how to shoot in manual mode!
Auto mode is fine to get started, but manual mode gives you full control over your camera settings, this allows you to be more intentional and creative. Let’s go over the basics of how to shoot in manual mode and some tips for getting the best shots of your children.
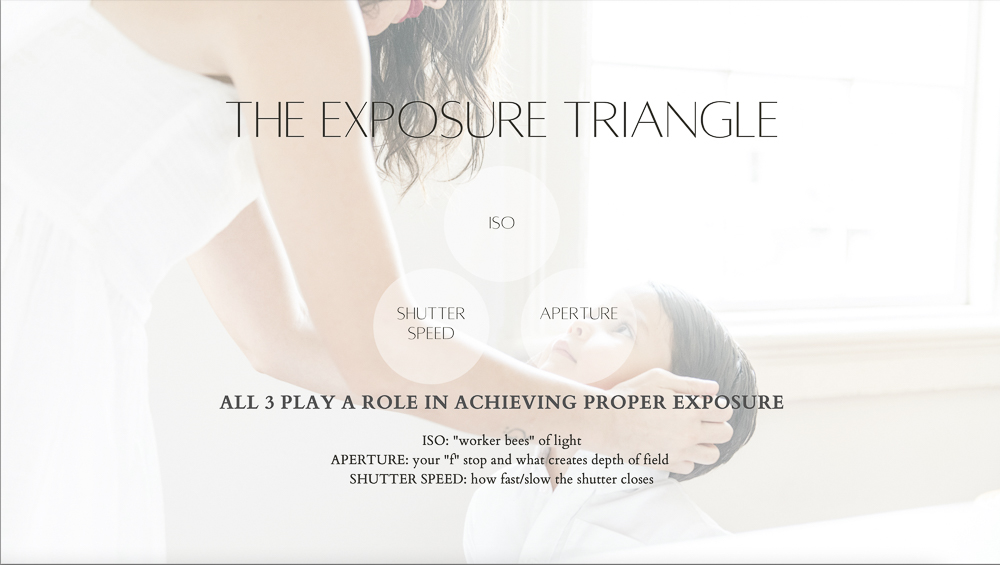
Understanding the Exposure Triangle
In short, exposure is the amount of light that enters your camera and hits the sensor. Auto mode allows the camera to determine the settings for you. With manual mode, you need to set your exposure yourself. Exposure is controlled by three settings: aperture, ISO, and shutter speed.
Aperture
Aperture is the setting I always choose first. The number can be confusing for many photographers when learning how to shoot in manual mode. But it doesn’t have to be! I like to compare aperture to the pupil in your eye. It is the size of the opening in your lens. It is measured in f-stops, with smaller f-stop numbers (i.e. f1.4) indicating a larger opening and more light entering the camera. Just like your pupil dilates larger in a dark environment to let in more light, your lens must also open wider for better exposure.
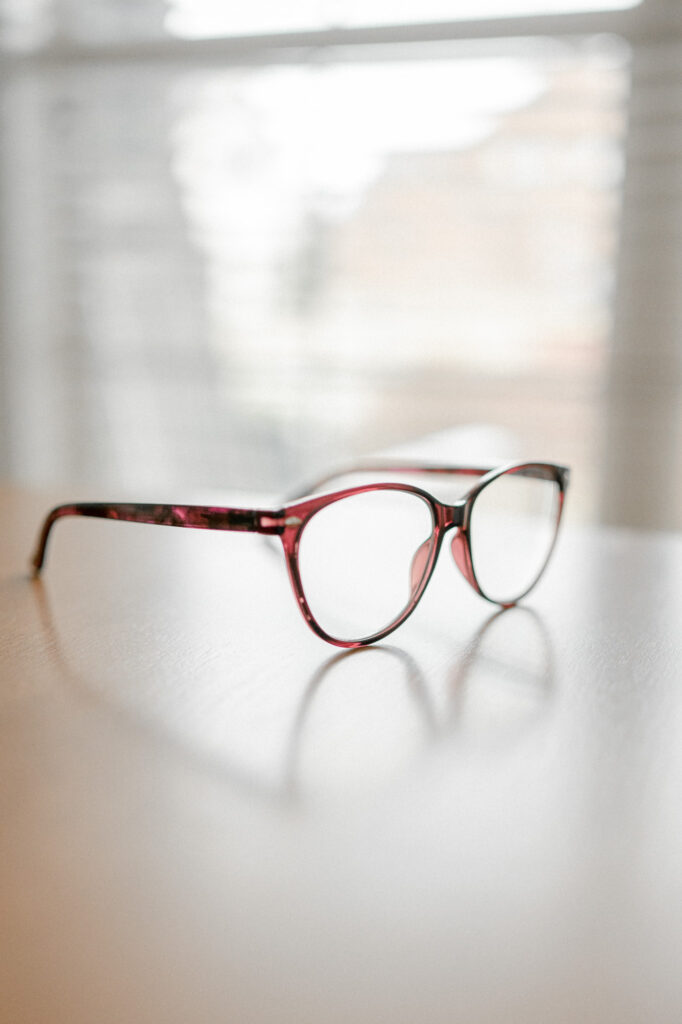
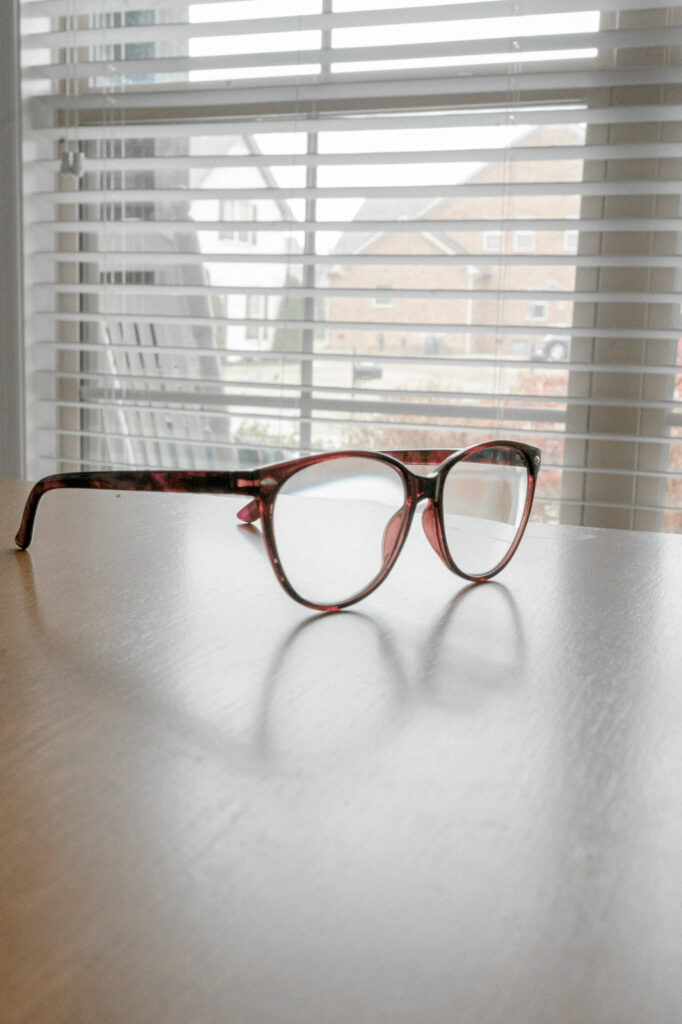
Aperture also affects depth of field, or the amount of the image that is in focus. A lower f-stop number will create a shallow depth of field (think blurry background, subject in focus). This is why I always set my aperture first. I always aim for a soft, blurry background. I rarely shoot above f2.8 to ensure a beautiful, creamy background with bokeh. Look at the difference in the images below! One is set to f1.8, the other a whopping f16.
Shutter Speed
Shutter speed is the next setting I choose. It is the length of time your camera’s shutter stays open. It is measured in fractions of a second. Faster shutter speeds freeze motion, while slower shutter speeds create motion blur. Think of shutter speed like your eyelid blinking. The longer your eye is open, the more light is let in. So a slower shutter speed will let in more light, but you must be aware of motion blur. I rarely go below a shutter speed of 1/250 to ensure my subject is in focus.

ISO
ISO is the last setting I choose, determined by the environment and available light. ISO is the sensitivity of your camera’s sensor to light. When I first learned how to shoot in manual mode, I read something that compared ISO to the “worker bees” of your camera. They go out, catch the light, and bring it back to the sensor. I have never forgotten that analogy and it’s so helpful!
A higher ISO (think more worker bees) will bring in more light, allowing you to shoot in lower-light conditions. However, a higher ISO can also increase image noise (more bees = more buzz). So, I maximize my ideal aperture and shutter speed first, in order to keep noise at a minimum.
When shooting outdoors, I often set my ISO anywhere between 100-800, depending on time of day. If it’s mid-day and sunny, it’s likely on 100. If I’m shooting in the last few minutes before sunset, it’s likely closer to 800.
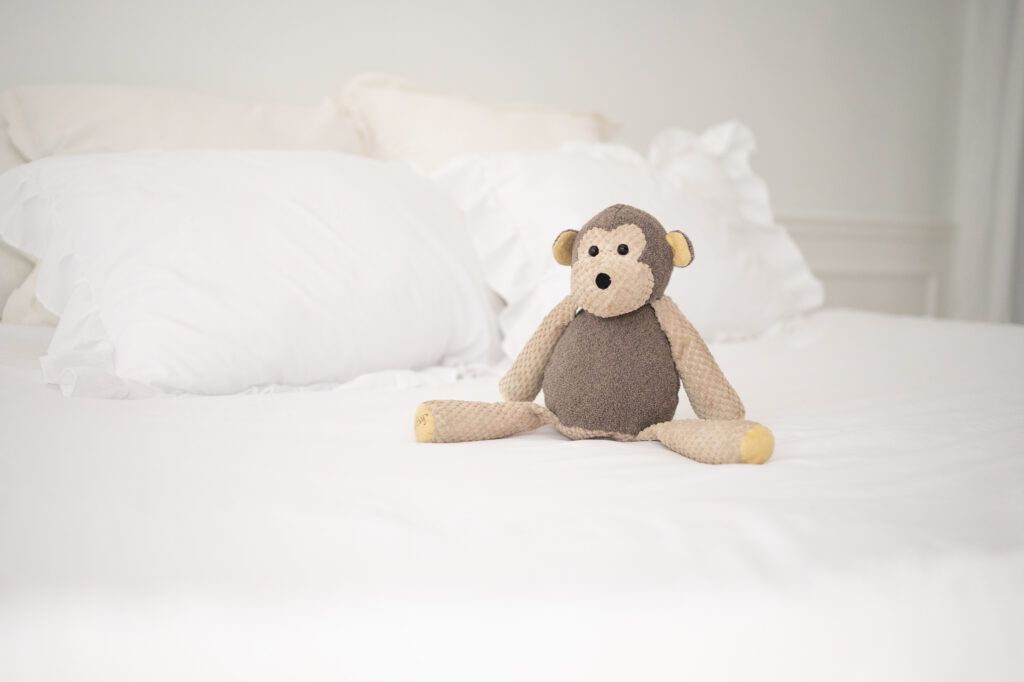
When shooting indoors with window light, it’s common for my ISO to be set between 800-1600. If I must go above 1600 (and I’ve already maxed out my other settings), I will consider adding in flash so that I don’t sacrifice the quality of my image with noise or muddy skin tones. Take the images below, for example. It was a dark, rainy day outside my studio. I cranked my ISO to 2500 for the first and ISO 4000 for the next. The exposure is ok for the first, but more to my creative liking on the second. However, if you look closely, you’ll see how much integrity of the image is sacrificed to noise in the latter.
Tips for Photographing Children
Now that you’re familiar with the basics of how to shoot in manual mode, let’s chat about photographing children.
- Choose natural light: Natural light is the most flattering and easiest to learn/work with. Look for areas in your home with big windows or outside under open shade (like a porch or shade tree).
- Use a fast shutter speed: Children are constantly moving, so use a fast shutter speed to freeze their motion. Again, keeping shutter speed above 1/250 is typically adequate.
- Shoot at eye level: Get down to your child’s eye level to capture their perspective.
- Focus on their eyes: The eyes are the window to the soul, and focusing on them will make your photos more engaging.
- Be patient: Children can be unpredictable, so be patient and wait for the perfect moment to capture.
Final Thoughts on How to Shoot in Manual Mode
Shooting in manual mode can be really intimidating at first. However, like anything, the more you practice, the easier it becomes. Manual mode gives you full control over your camera settings, allowing you to be more intentional and more creative with your images. I encourage you to get off auto mode and start learning how to shoot in manual mode!
ABOUT NASHVILLE MATERNITY AND NEWBORN PHOTOGRAPHER
KRISTIE LLOYD
Kristie is an experienced Nashville Newborn Photographer + Maternity and Family Photographer. Her work has been featured in places like Nashville Baby Guide, The Kindred Path, Maury County Living, and multiple other local online and print media sources.
Her clients enjoy a luxury portrait experience from start to finish, which includes Kristie’s assistance in planning every detail. Clients are drawn to her use of natural light, bright and natural editing style, and her unmatched attention to detail. If you would like to learn more about the KLP experience, let’s chat more!
To ensure a true luxury and full service experience for clients, KLP only books a limited number of sessions each month. We are currently booking into Spring 2023 and we would love to get you on the calendar before dates are full.
leave a comment!